Friday, September 4, 2009

Breaking-in The New Saw


    After a lot of practice cutting dovetails by hand (and making a few banners for extra $$) I decided to get a new dovetail saw. I have been using a Crown Gents saw so far and it works pretty well especially when you can get on e for under 25 bucks. It is, however, a bit slow to cut in 3/4" and thicker material. I won't go into the justification part much since I will freely admit that I love tools. The problem is a lot of those tools are kinda pricey. Don't judge me!
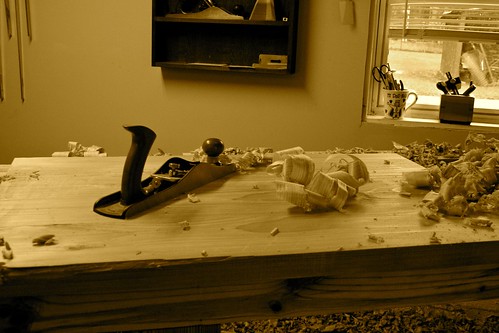
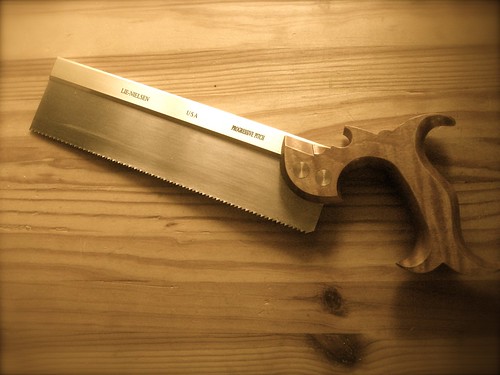
    I decided to go with what seems to be the more popular choice of Lie-Nielsen. I've already got the LN rip carcass saw and have been very impressed with it. Besides, Woodcraft had them on sale for 15% off at the time.There was a really helpful sales person there who just happened to work for Lie-Nielsen during their trade shows. That's nice to see 'cause some of those guys don't seem to know much about hand tools. Anyways, she talked me into the progressive pitch dovetail saw. This one has teeth ground into the blade at a variable spacing from 16 points per inch at the end, or toe, to 9 ppi toward the handle. She said it's supposed to start its cut easier. So that's what I ordered and two weeks later I picked it up.
    My first impressions, other than how nice it looked, weren't all that positive. This saw had a lot of hype around it with the progressive pitch part and all and I had some big expectations. I've had the LN rip  carcass saw for the last six months and It's been wonderful. Even with 10 ppi it cut very smoothly and left a decent finish. I figured the dovetail saw would be even better. Instead, I found it to feel a bit rough although the cut quality was about the same as the carcass saw. It vibrated quite a bit and seemed to catch at about the last third of the blade. I figured the rougher feel was probably due to the progressive pitch but I still wasn't happy with it catching. 
     Since this is a new saw I decided to break it in and see if it would help. Apparently new saws need a breaking in period because the freshly sharpened edges have little burrs that can make it grabby. So, I made about a hundred and fifty practice cuts in some poplar scrap. A little better, but it still seemed to catch a bit. Then I tried some oak. Even worse. I posted this on SawmillCreek.org and it was suggested that I needed time to get used to how it cut. I had considered the possibility of returning it. 
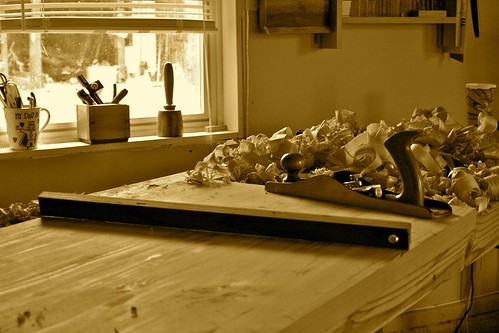
    After some more thinking I decided to try something else. Not wanting to drive all the way up to the north side of Indy and deal with the bumper-to-bumper traffic I decided to stone it. No, not throw a brick at it or light up a fatty, but lightly rub it with a fine sharpening stone. Just a few times on each side as evenly as I could. I tried some cuts again, this time in cherry and walnut. Sweetness. I made another fifty cuts and it seemed to behave nicely. It cut straight and fast.
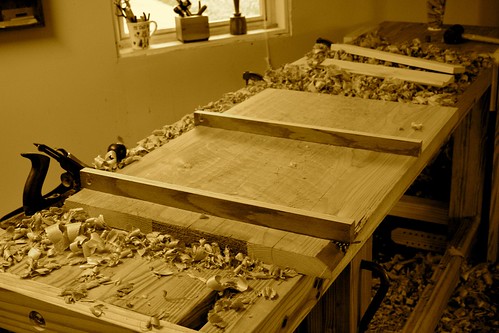
    I've since decided to keep it and I am looking forward to using it on my next project, dressers for the boys. I'll be using dovetails for the carcass joinery. The kind you can see in the top of the dresser. And I think I may be ready after a few hundred more practice cuts.


Monday, August 31, 2009

Flattening By Hand

My disclaimer:
    I am neither a master woodworker, writer or comedian. I am just sharing what little experience I have along with some nice pictures and a few links. Read on and if you find this information useful or just plain humorous then good, I've added something to your day. Leave a comment and feel free to criticize or teach me something new. I would appreciate that.

   I'm still working on the storage chest project. Just a little at a time as always. I've glued up the boards for the lid and, of course, it was a bit (a lot) out of flat. As usual it seems some of the boards had shifted here and there during glue-up resulting in a curved surface across the width. At this point it is too wide to remedy this with m 13" planer and my Harbor Freight belt sander died long ago. Fortunately, I have hand planes.
    I believe this is the largest panel so far I have attempted to flatten by hand. I've read about doing it and even observed a great demo by Deneb Puchalski at the Lie-Nielsen hand tool event in Cinci'. But, like many woodworking skills, you can read about them and think you understand, or you can make yourself do it for real and realize that it's gonna take a lot of work and practice (and sweat and frustration) to truly get there.
    To flatten this panel I used a straightedge (a piece of plywood which later became my winding sticks after I ripped it in half), a marking gauge, my LN low-angle jack, and a no 5 Stanley plane set up as a scrub. A scrub plane is used to hog off a large amount of stock quickly across the face or edge to begin the flattening process. My no 5 has a large mouth opening and a blade with a pronounced camber on it, although not as pronounced as actual scrub planes as I've recently learned. It's probably more of a fore plane which, according to the Schwarz, is the British version of the scrub but with a gentler camber. Fine tool suppliers such as Lie-Nielsen and Veritas offer scrub planes which have a blade camber of a 3" radius. Just another tool to add to the list right along with the LN low angle jointer I don't have. Until then, I will use what I have.


    My first step was to take a straight edge to the panel to see the "lay of the land". Yup, like a banana. I chose to start on the "hill" side of the panel first.  To me, using a scrub was like carving. I'm used to sending a piece of wood through the planer. Set it and forget it. With a plane set to take very coarse cut I had to be aware of where my goal was. I would take traverse cuts (right angles to the grain) and then diagonal cuts. If an area seemed higher I would hit those again. Don't expect fine shavings here. At this point you're getting chunks, and that's what you want. Using a plane in this way is actually a lot of fun in a powerful and destructive kind of way, especially in redwood.


    After I getting the the surface reasonably flat (to my abilities), I moved on to my jack plane set for a finer cut. I used my fancy winding sticks (also called winking sticks) to check for twists along different areas. For that I took my plywood straight edge into the barn and ripped it in half.  In this picture you can  see the texture left behind by the scrub.
 
    You can check for twists by looking down the length of the board over one winding stick and toward another. If the tops line up then it's flat. A twist would show if the tops of the sticks aren't parallel.
    After I decided to ignore any problems, I finished up with the jack plane. Not too difficult as long as I didn't get too crazy. I tried to work the surface as evenly as I could, checking with a straight edge and winding sticks after each pass. I think that was the key for me at least. Plane and check, plane and check.
    After I was happy with the flatness I had and the sweat I made I marked the thickness around the edge that I wanted with a marking gauge. I thought it was hard to see the small line of the marking gauge so I went over it with a pencil. I flipped the whole thing over and went to town on the other side in the same fashion. Coarse, medium and fine. I think I've heard that somewhere before.
      Sure, I see light under that straight edge, too. That's okay for at least two reasons. One, I'm still pretty new to this. And two, it ain't gonna get any better than that. At least not today.
    After a couple hours (I thought it would take three), here is what I have produced. A room full of shavings and a top for my storage chest.
    Now on to the hinges and finishing. I'm undecided on whether I should paint it or stain it. I intend on leaving it outside for storing sports balls, toys, etc. What do you think?
- Richard Magbanua